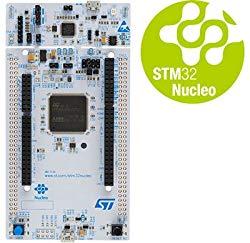
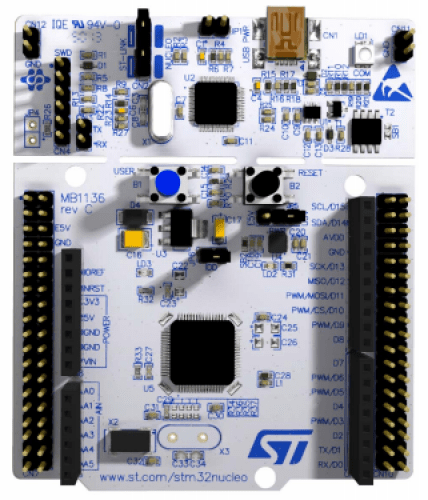
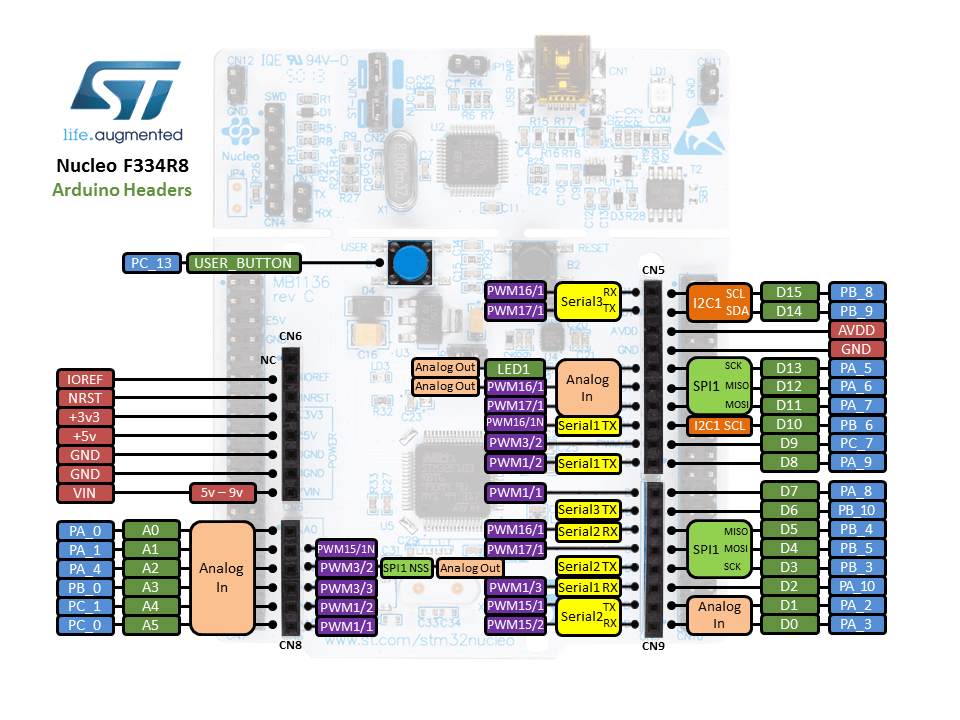
In this article we look at a piece of hardware we have had for a while, the Nucleo-L496ZG development board.
Overview
This board features a STM32 microcontroller in LQFP144 package, in this case it is a STM32L496ZGTP MCU.
The ST Zio connector, which extends the Arduino Uno V3 connectivity, and the ST morpho headers provide an easy means of expanding the functionality of the Nucleo open development platform with a wide choice of specialized shields.
External SMPS to generate Vcore logic supply (only available on ‘-P’ suffixed boards).
Ethernet compliant with IEEE-802.3-2002 (depending on STM32 support).
USB OTG or full-speed device (depending on STM32 support).
The board features 3 user LEDs.
There are 2 user and reset push-buttons.
32.768 kHz crystal oscillator Board connectors: USB with Micro-AB, SWD, Ethernet RJ45 (depending on STM32 support), ST Zio connector including Arduino Uno V3, ST morpho
Flexible power-supply options: ST-LINK USB VBUS or external sources.
On-board ST-LINK/V2-1 debugger/programmer with USB re-enumeration capability: mass storage, virtual COM port and debug port so this means it does not require any separate probe.
Development
Support of a wide choice of Integrated Development Environments (IDEs) including IAR , Keil , GCC-based IDEs, Arm Mbed and the Arduino IDE with STM32Duino support
Arm Mbed Enabled compliant so you can use the online compiler
Hardware
 1 /PCS LOT NUCLEO-L496ZG Nucleo development board STM32L4 series development board 100% new original
Code example
This is a simple example using the Arduino IDE with STM32Duino support added
This example is similar to the default blink example but since there are 3 led’s we will flash them all on and off
[codesyntax lang=”cpp”]
void setup()
{
  // initialize digital pin LED_BUILTIN as an output.
  pinMode(LED_GREEN, OUTPUT);
  pinMode(LED_BLUE, OUTPUT);
  pinMode(LED_RED, OUTPUT);
}


// the loop function runs over and over again forever
void loop()
{
  digitalWrite(LED_GREEN, HIGH);   // turn the LED on (HIGH is the voltage level)
  delay(1000);                       // wait for a second
  digitalWrite(LED_GREEN, LOW);    // turn the LED off by making the voltage LOW
  delay(1000);                       // wait for a second
  digitalWrite(LED_BLUE, HIGH);   // turn the LED on (HIGH is the voltage level)
  delay(1000);                       // wait for a second
  digitalWrite(LED_BLUE, LOW);    // turn the LED off by making the voltage LOW
  delay(1000);                       // wait for a second
  digitalWrite(LED_RED, HIGH);   // turn the LED on (HIGH is the voltage level)
  delay(1000);                       // wait for a second
  digitalWrite(LED_RED, LOW);    // turn the LED off by making the voltage LOW
  delay(1000);                       // wait for a second
}
[/codesyntax]
and because I really like flashy led examples
[codesyntax lang=”cpp”]
void setup()
{
  // initialize digital pin LED_BUILTIN as an output.
  pinMode(LED_GREEN, OUTPUT);
  pinMode(LED_BLUE, OUTPUT);
  pinMode(LED_RED, OUTPUT);
}


// the loop function runs over and over again forever
void loop()
{
  digitalWrite(LED_GREEN, HIGH);   // turn the LED on (HIGH is the voltage level)
  digitalWrite(LED_BLUE, HIGH);   // turn the LED on (HIGH is the voltage level)
  digitalWrite(LED_RED, HIGH);   // turn the LED on (HIGH is the voltage level)
  delay(1000);                       // wait for a second
  digitalWrite(LED_GREEN, LOW);    // turn the LED off by making the voltage LOW
  digitalWrite(LED_BLUE, LOW);    // turn the LED off by making the voltage LOW
  digitalWrite(LED_RED, LOW);    // turn the LED off by making the voltage LOW
  delay(1000);                       // wait for a second
}
[/codesyntax]
Summary
A solid ARM development board that can be purchased for about $29, lots of development options. Hopefully I will explore a few of these in future articles, I have tried Arduino, MBed and will play about with the STM development tools as well.

