
This example shows how to connect a joystick to your St Nucleo. This could be used for games or perhaps navigating through a menu for example Here is a picture of the joystick I am using, this is commonly found for sale on many sites. Usually part of a sensor kit, links at the bottom
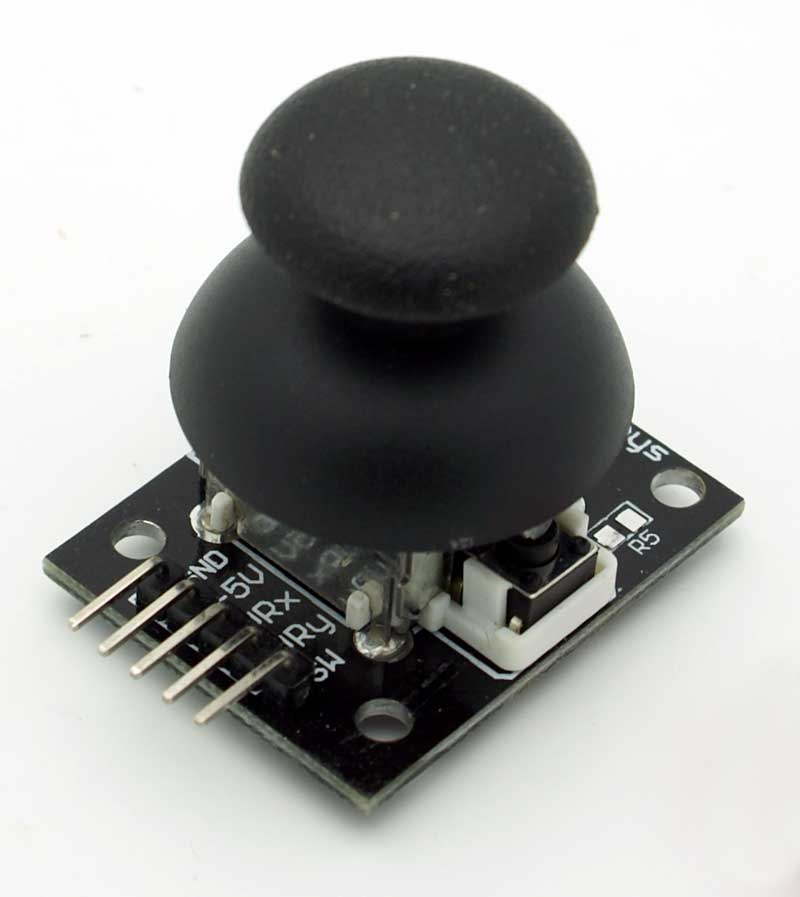
joystick
Here is the pinout and where I connected it to on my ST Nucleo board, the pinout is underneath
| Pin Number | Label | Signal | Arduino Connection | ||||
| 1 | GND | Ground | |||||
| 2 | +5V | 5V | |||||
| 3 | VRx | Voltage proportional to X position | Connected to analogue pin 0 | ||||
| 4 | VRy | Voltage proportional to Y position | Connected to analogue pin 1 | ||||
| 5 | SW | Joystick pushbutton | Connected to Digital pin 7 |
Here is the STM32 nucleo pinout
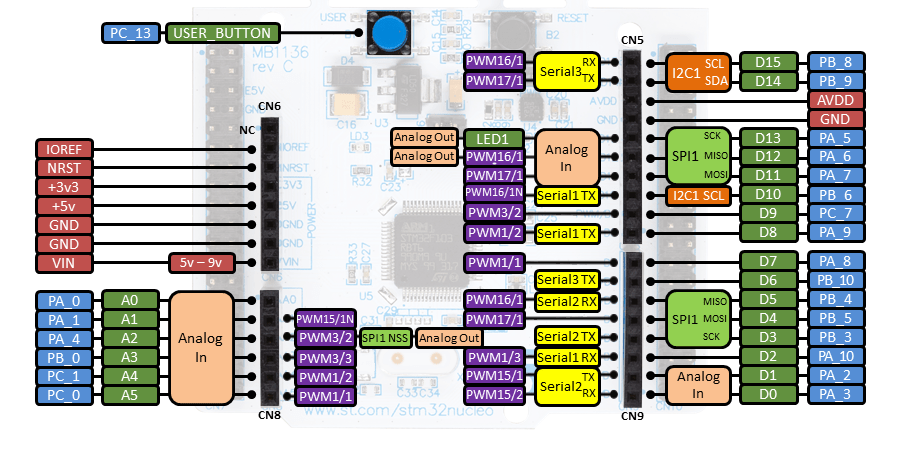
nucleo pins
Code
Nothing fancy in this example, we will simply output the values from the X and Y pins. Typically you would read these values and them perform actions based on the various positions such as left, right and up and down. A later update will show this.
This requires the https://developer.mbed.org/users/happinesstaker/notebook/sparkfun-analog-joystick/ to be imported into your project
[codesyntax lang=”cpp”]
#include "mbed.h"
#include "SparkfunAnalogJoystick.h"


SparkfunAnalogJoystick joysttick(A0, A1, D7);


// Test program for the library
// It would output all data about the joystick
// It would also draw a compass to indicate the joystick status on the LCD display

int main() {


    while(1) {
        printf("X-Axis: %f\n\r", joysttick.xAxis());
        printf("Y-Axis: %f\n\r", joysttick.yAxis());
        printf("Button: %d\n\r\n", joysttick.button());

        wait(1);
    }
}
[/codesyntax]
Links
Arduino joystick at Amazon UK
