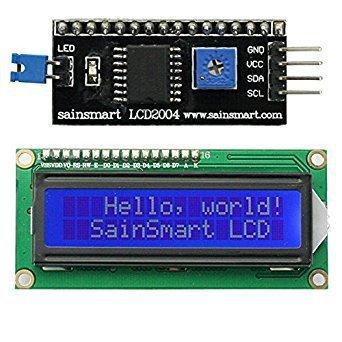
In this example we will interface to an I2C LCD using our Arduino Due. Now these I2C LCD’s consist of 2 parts usually an HD44780 16×2 LCD and an I2C backpack which connects to the LCD exposing the standard power and I2C pins.
This is a typical module you can buy, you can see the backpack which is obviously on the back of the LCD when you buy it
We will now look at the connections and a simple layout
Layout
Connect the pins as follows, it works from 3.3v and also 5v so can be used with a wide range of boards
| Arduino Due | LCD1602 |
| GND | GND |
| 3v3 | VCC |
| SDA/21 | SDA |
| SCL/22 | SCL |
Remember the backpack and lcd connections are already made for you
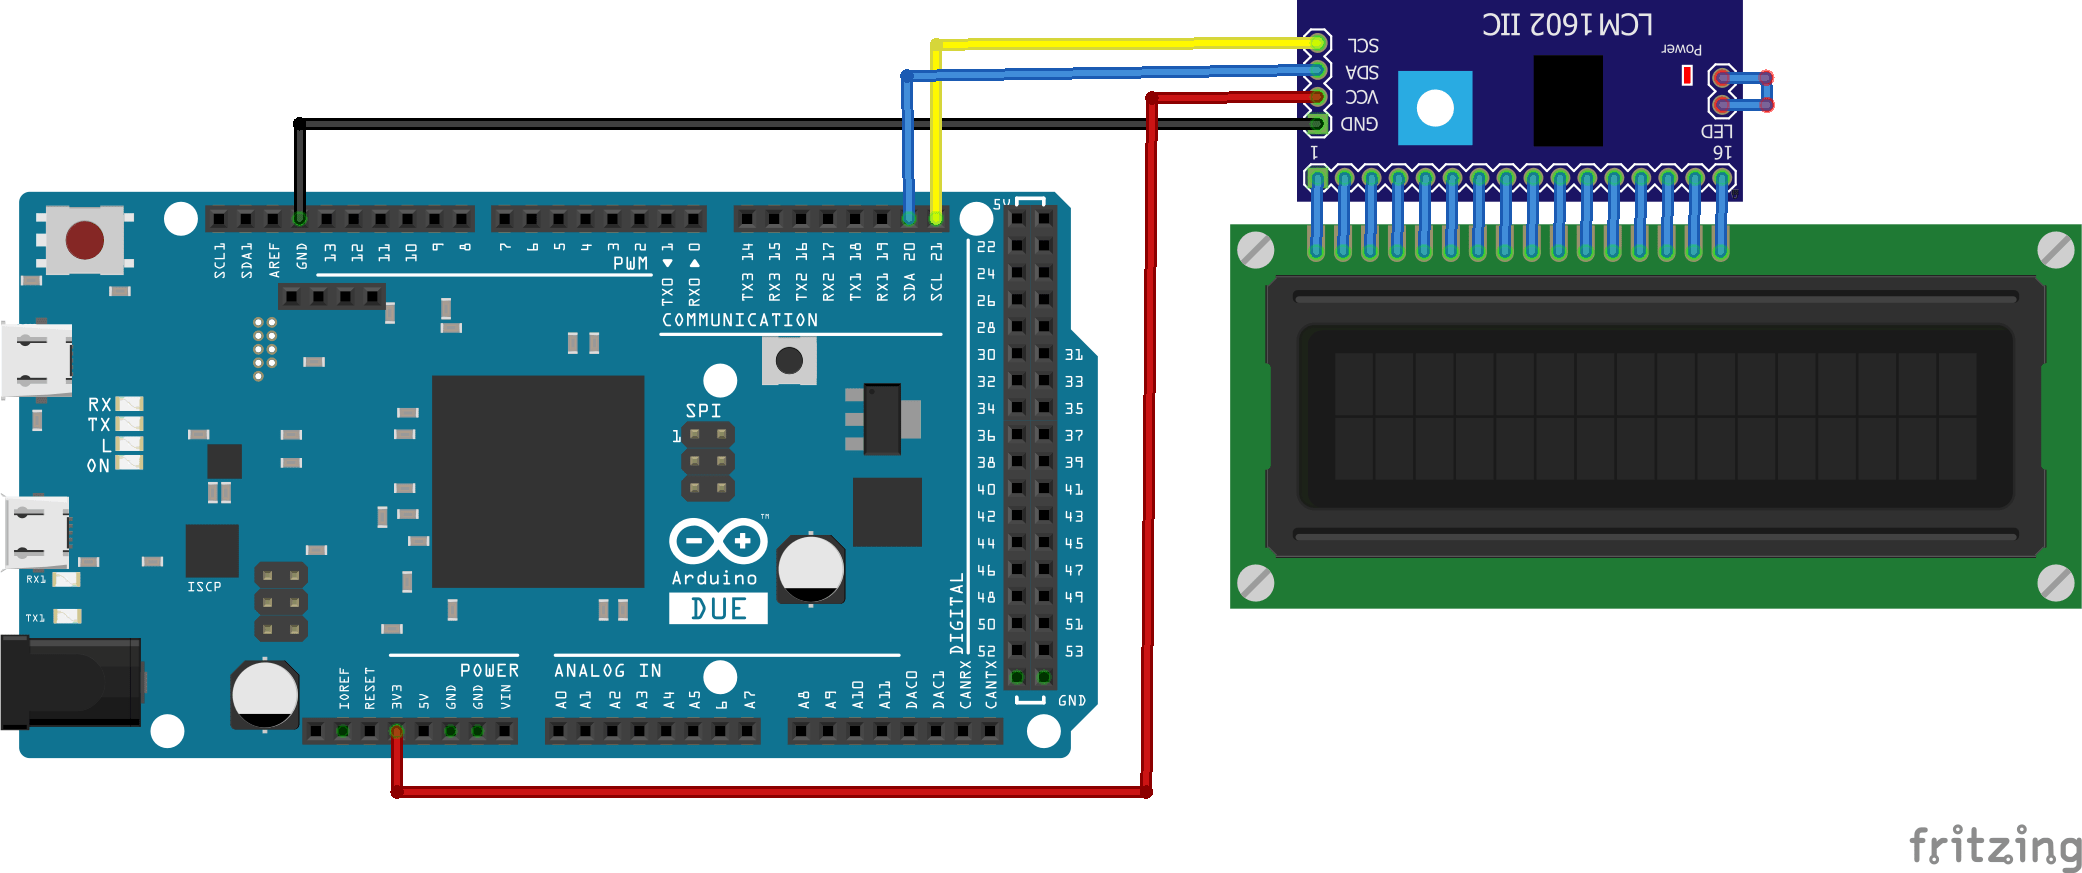
arduino due and i2c lcd
Code
You will need an updated I2C LCD library, the original one I couldn’t get to work but this one does seem to work.
You will need to import this into the IDE as usual
Now my example below required the I2C address to be changed to 0x3F, a lot of the code examples I have looked at on the internet are set to 0x27, something to look out for there
[codesyntax lang=”cpp”]
#include <LiquidCrystal_I2C.h>

LiquidCrystal_I2C lcd(0x3F,16,2); // set the LCD address to 0x3F for a 16 chars and 2 line display

void setup()
{
lcd.init(); // initialize the lcd
// Print a message to the LCD.
lcd.backlight();
lcd.setCursor(0,0);
lcd.print("Hello world");
lcd.setCursor(1,1);
lcd.print("Arduino Due");
}

void loop()
{

}
[/codesyntax]
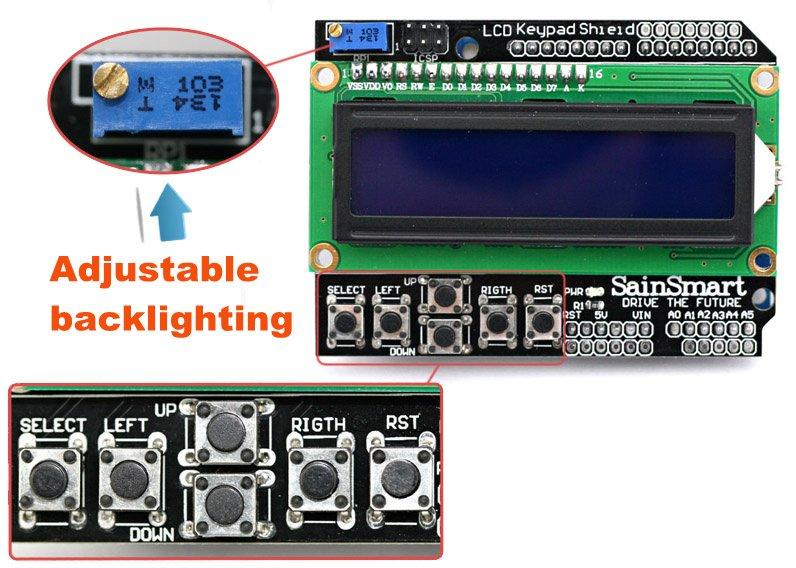
All going well you should see the messages in the code on your LCD display, you may have to adjust the little pot on the board
Now that you have this stage complete its fairly simple to display time, temperature readings or anything else you want to display on the LCD display, we will look at this in later articles
Link
You can pick up one these modules for under $3
1pcs Blue Display IIC/I2C/TWI/SPI Serial Interface 1602 16X2 LCD Module


